PART 5/ CAN'T STOP TINKERING!
Read Part 1 - BODY SHELL, SUSPENSION & BRAKES
Read Part 2 - THE FUEL SYSTEM
Read Part 3 - INTERNAL FIT-OUT, ELECTRICS, DASHBOARD & CONTROLS
Read Part 4 - THE ENGINE BAY
Following on from Part 3, about internal fit-out, electrics, dash & controls
From working here at Merlin I know that with most project cars there’s never really a day when you can say “it’s finished". We just can’t stop tinkering and perfecting and this is true for my own Mini project. Now the car is up together and running sweetly, I can start to improve and change some areas and parts of the car which I was not 100% satisfied with first time round.
I’d like to give a mention and some credit here to Circuit Motorsport (who are also based here at Castle Combe Circuit). They kindly set up the car on their rolling road and Paul's expertise at the rolling road is absolutely spot on. He mapped the Omex ECU and tuned the carburettor perfectly so that this little car now produces 150bhp and 150lbs/ft of torque! The car drives superbly and I'm over the moon with it.
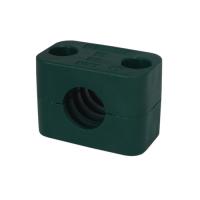
Whilst driving the car on our (not-so-perfect) UK roads, the rear suspension would bottom out and rub on the rear wheel arches. A common problem on lowered Mini's. There is a permanent way to resolve this issue but it involves cutting out the rear wheel arches and "tubbing" them. I didn't want to do this so I had to seek advice on another way to solve the problem. I fitted an anti-roll bar to the rear suspension which straight away solved the problem of the rear wheels rubbing.
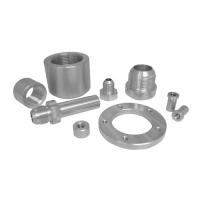
We don’t supply in kit form here at Merlin but instead we sell the individual parts to help make the drop links for your own application. Here: Anti Roll Bar Components The anti-roll bar I purchased was from Kent Auto Developments. They are experts in all things Mini and their items are top quality. I am super happy with the parts I purchased and secondly, it solved my problem. That said, the main purpose of an anti-roll bar is to help prevent body roll. I have not yet had the chance to use the car in anger at a circuit, but I'm sure this component will be vital in making the car handle well when that time finally comes.

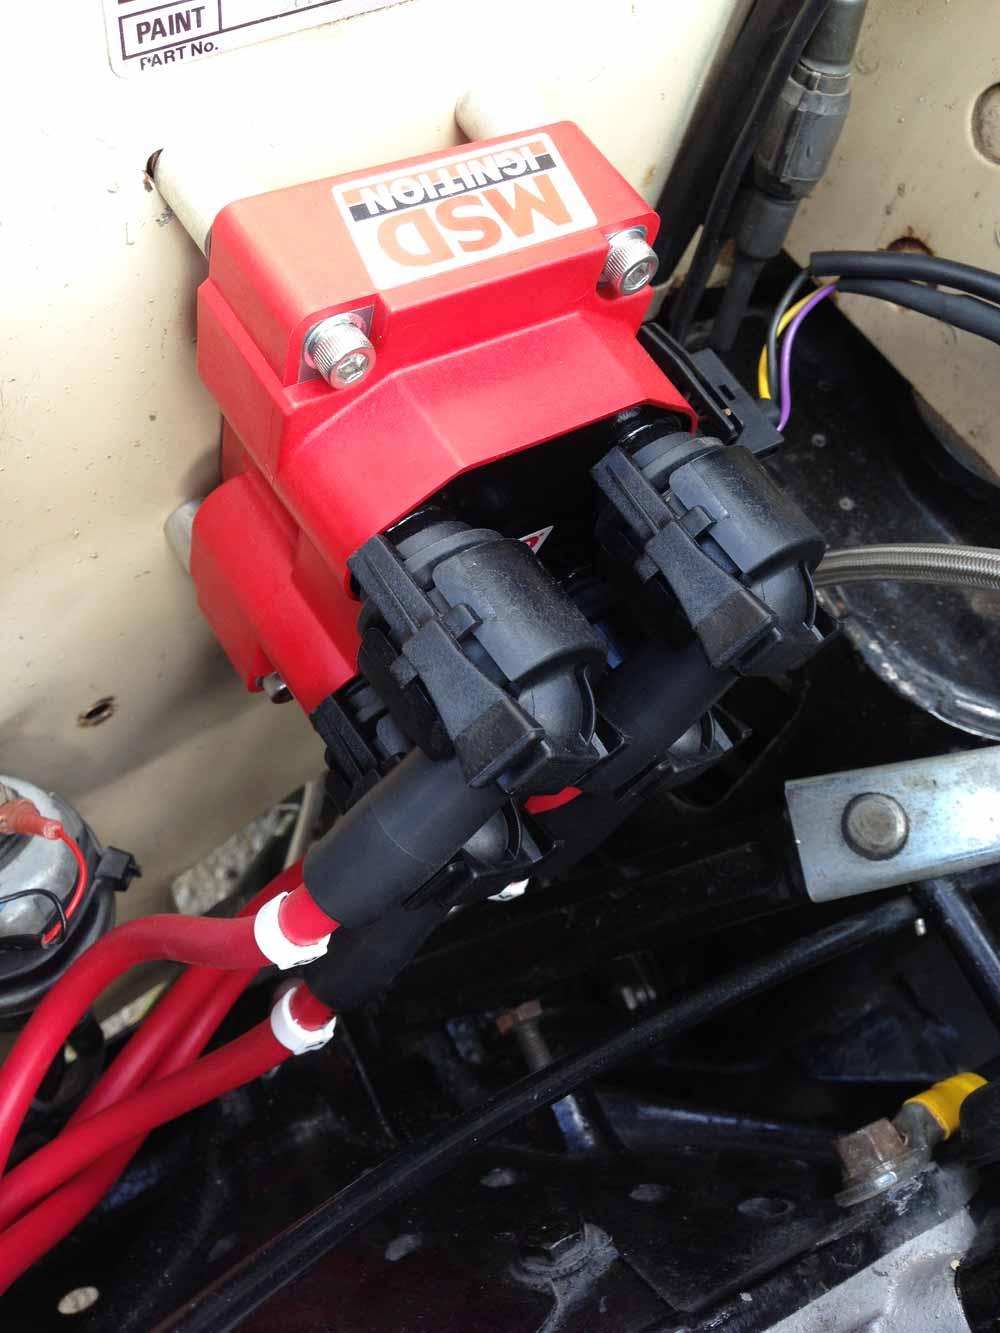
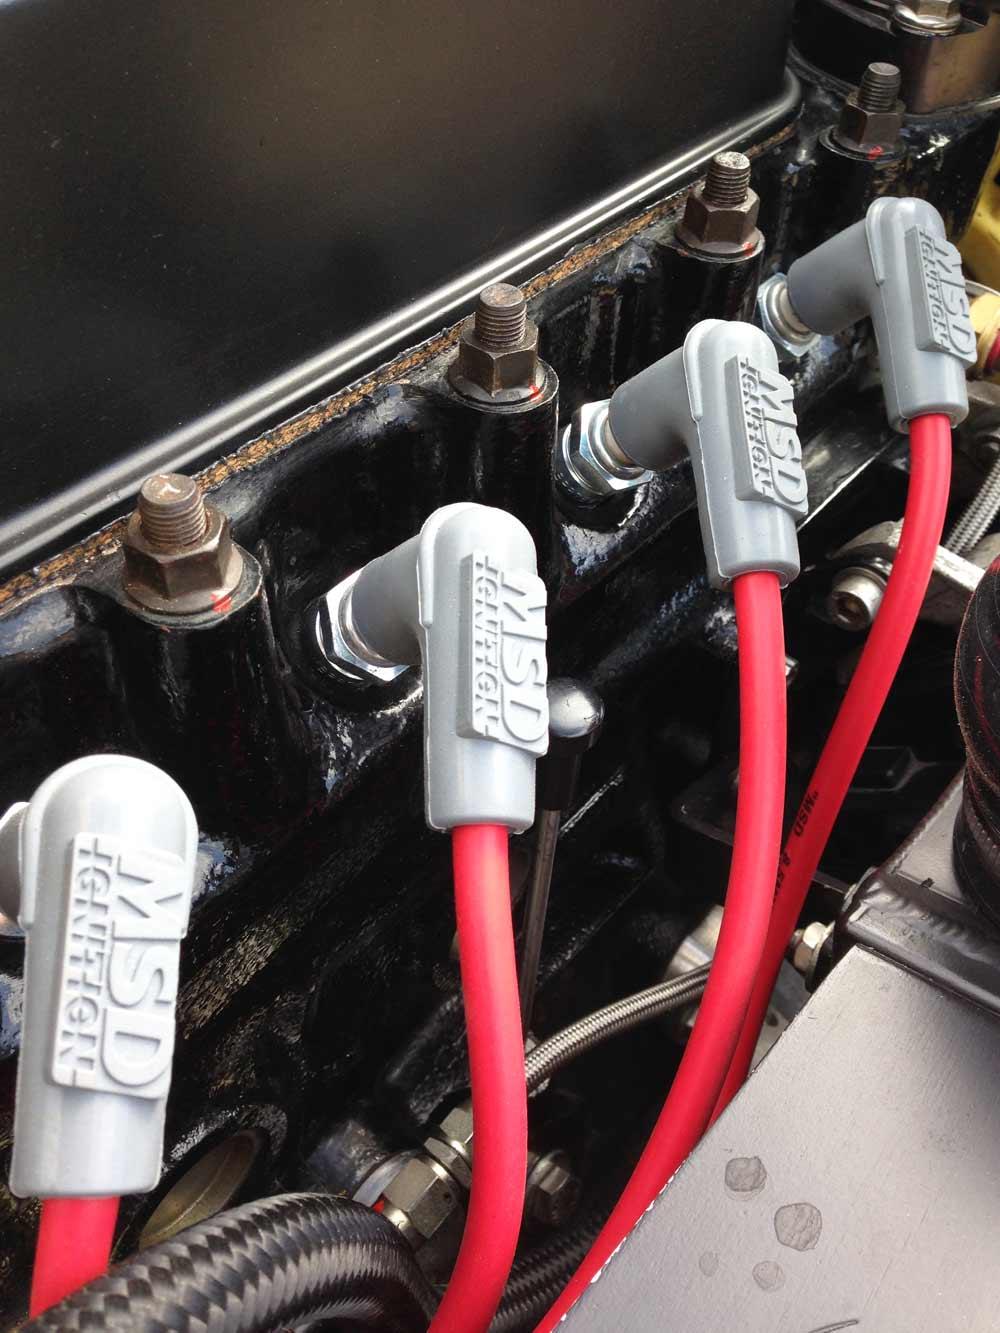
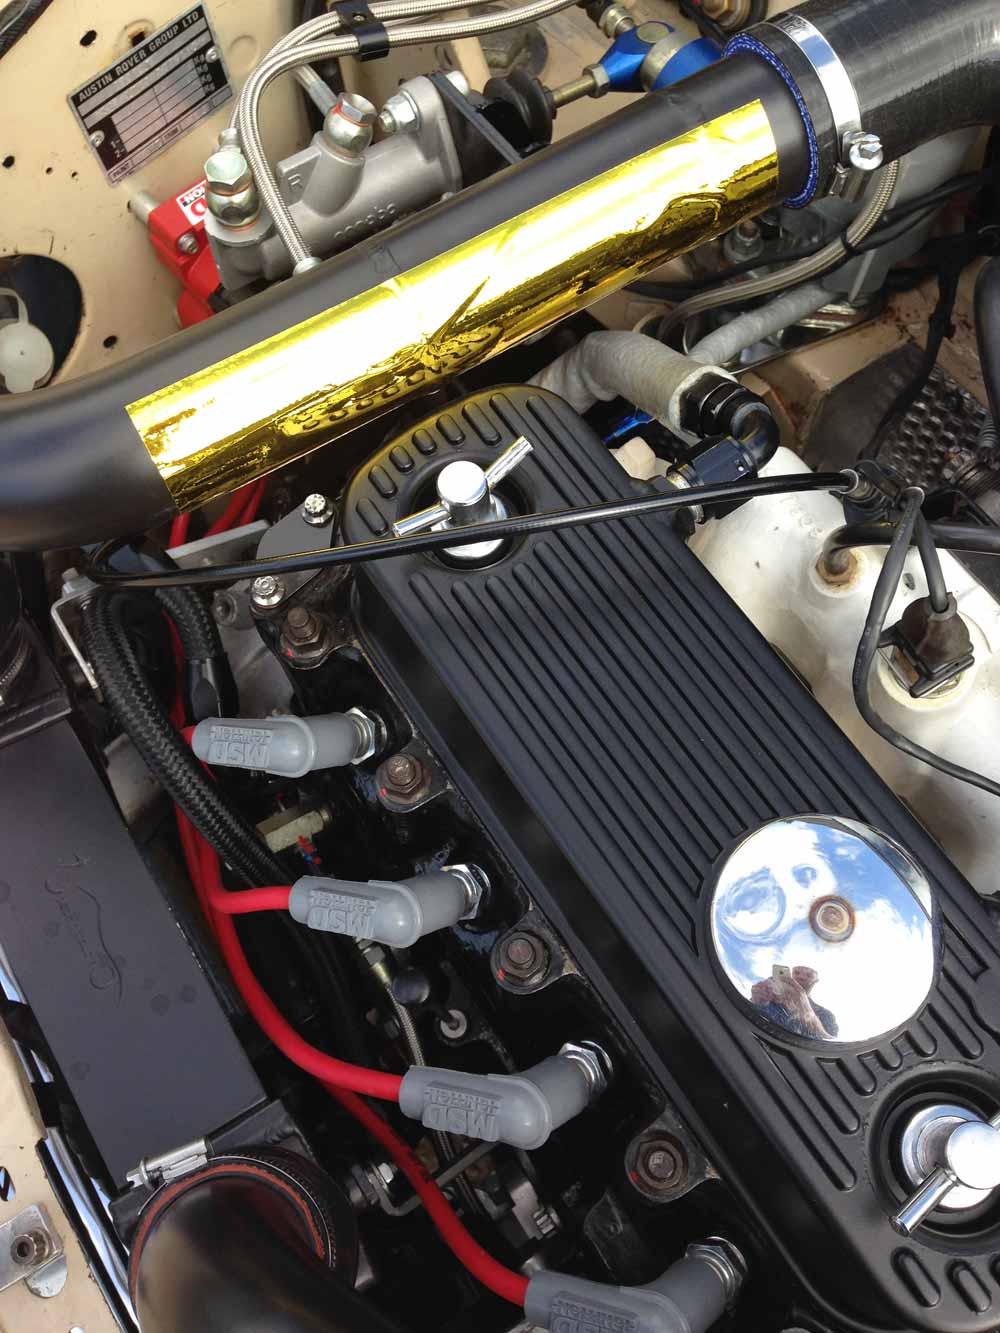
Another thing I was never totally satisfied with was the spark plug leads and coil pack I had fitted to the engine. These were OEM Ford Fiesta 1.1 items and were second hand so I decided to treat myself to a set of MSD Superconductor Universal Spark Plug Leads and Blaster Coil Pack. These are made in the USA and are one of my favourite items fitted to the Mini. The plug leads are a "universal fit", so I had to cut and make the leads from the kit they supplied. The coil pack is a direct replacement for the OEM Ford item I was using and it's the business! These items are top quality and whilst we do not sell them here at Merlin, I would recommend them to anyone who needs some universal plug leads.
After doing some in-depth research I realised that the way I had plumbed in my engine oil breather system was probably not the best way. This led me to change the whole system and after seeing many designs of oil catch tanks from various manufacturers, I decided to go down the route of installing an oil and air separator to the breather system. The basic principle of this is to let the inlet vacuum suck the oil vapour and pressure from the crankcase and rocker cover. When inside the tank, the oil drops to the bottom and the clean air gets sucked back into the inlet. There is a baffle plate fitted internally to stop the oily vapour escaping at the same time. This is how its designed in some OEM systems, but now eliminating the nasty oily, messy deposits that get dumped back into the intake and can cause engine detonation and decrease the octane rating of the fuel. Being as my engine bay was already crammed with pipes and hoses, there was not a lot of room for this separator tank, so this led me to design and make my own to fit neatly in my compact engine compartment.

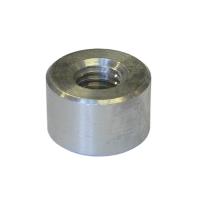
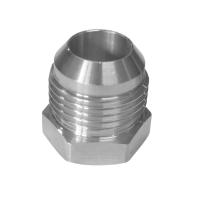
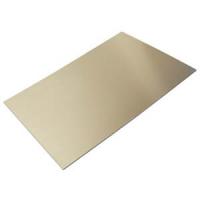
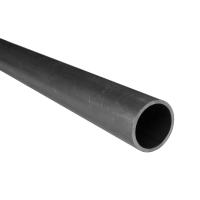
To make this tank I used some of our 2" (51mm) O.D Aluminium tube, cut to my desired length. For the top, bottom and internal baffle, I asked Steven from Merlin to cut me some discs the correct size in our workshop from this Aluminium sheet. For the two inlets and the one outlet I used some of our Aluminium weld on fittings, -8 JIC male thread with a hex base. I fitted a drain plug to the bottom of the tank so that the tank can be emptied without being removed from the car. I used an M8 female weld on boss here. Once I had then assembled all the items and drilled all the holes I needed to, I took it to my local fabricator who did an awesome job of tig welding everything together. I also used the same weld fittings as the tank to be welded on to the engine rocker cover to create me some inlets and outlets for the breather hoses. Below you can see I then used the Goodridge range of 236 Black fittings to make up the oil breather hoses. I finished it off with sleeving the hoses in the Goodridge silver fire sleeve which protects the hosing from the extreme heat of the turbocharger and exhaust manifold.

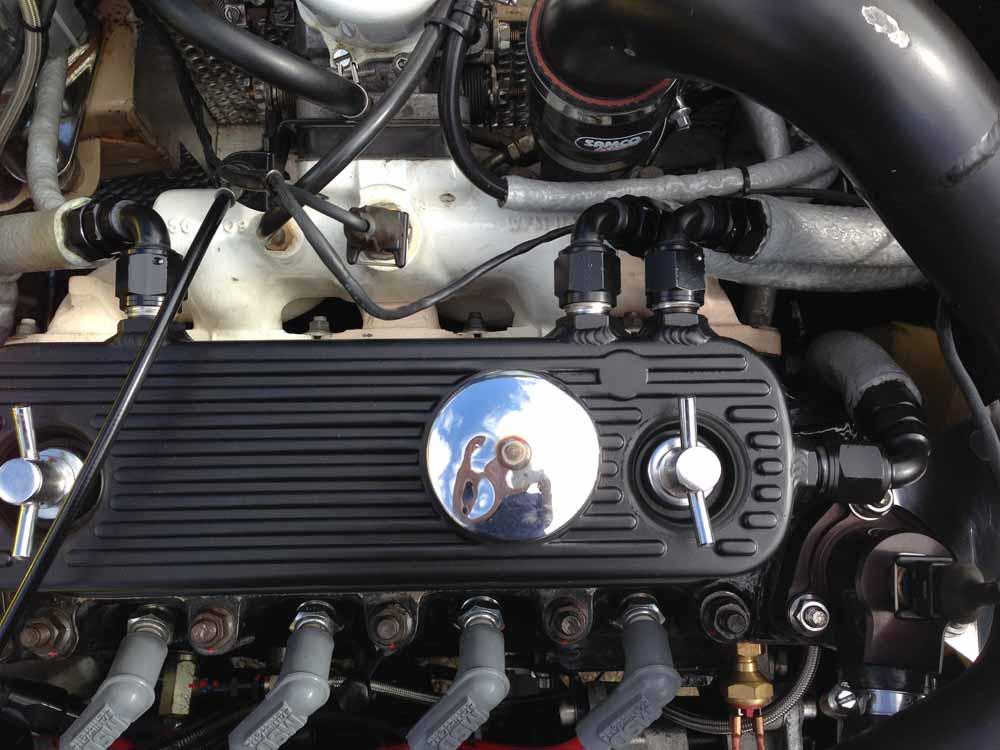
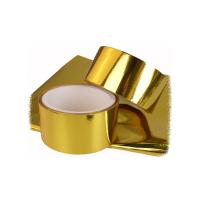
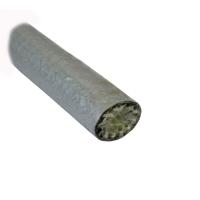
Whilst on the subject of heat insulation, I noticed that my intercooler pipe that runs from the intercooler to the plenum chamber was getting quite warm after the engine had been shut down, this was mainly just radiated heat from the rocker cover and top of the cylinder head as it runs very close by. I used some of the Gold reflective heat tape to help reflect the high heat away from this pipe, I used the tape version as it was easier to apply to a round pipe.
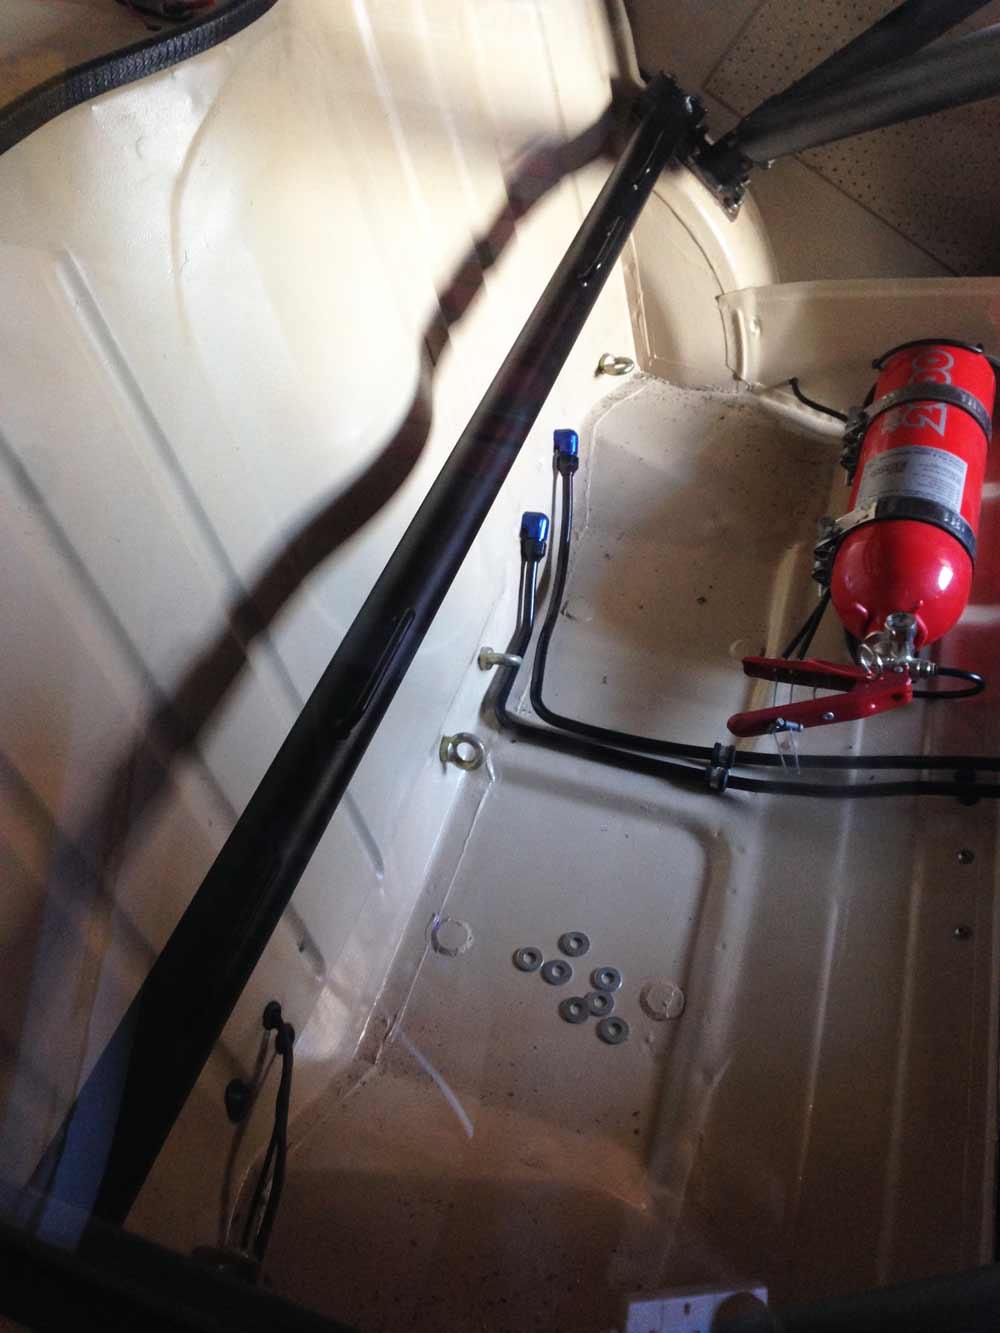
As I write this I am part way through fitting a harness bar to the cockpit of the Mini. This means that the harness mounting points can be moved from the rear seat bench up to a much safer position. With this fitted, the rear straps of the harnesses will wrap around this bar and now come out the back of the seat at less of a sharp angle and now mount in a straight position (before they were unequal lengths). I used our 1.5" (38mm) O.D CDS Steel Tubing, cut to my desired length. I then had my local fabricator make up the mounting base and strengthen the bar using 3mm steel plate, then it was all tig welded together.

The finished item looks great and it will provide a much better harness mounting point.